So today I started a design for a Chandra Nalaar cosplay from Magic the Gathering.
What do you need for Budget Chandra:
- sewingmachine and needle, or for the brave just a needle
- sewing thread (you only need red, even on the mail part)
- red leatherly fabric with stretch, someone with a small/medium size needs about 150/200cm on 140cm
- silver fabric that looks a bit like mail with stretch, someone with a small/medium size needs about 100cm on 100cm (and you will have left-overs)
- old bra preferably pushup
- fabric scissors and a tiny one to cut threads
- chalk
- stuffing
As you can see it is obviously not exact but thats because I only have fabricskills no armorskills and this also has to be a budgetproof cosplay for a friend.
So after I made this rough sketch I ended up thinking about the patterns I would need to make it all.
In the end this will have to become an easy dress to put on.
I bought some shiny red fabric with stretch that has a fake leatherlook and a stretchysilverly fabric that gave me a mail impression for the belly and sleeves part.
(found a nice shop I only paid 13.5euros for the fabric, also bought some organza for making a fireball or at least going to try)
STRETCH IS MY FRIEND as I hate calculating and drawing patterns in great details.
Just make sure you have a stretchneedle and use stretchstitches when you are working on it.
Another YAAY is no annoying zippers or buttonholes needed cause of STRETCH :D. (unless you choose to work with real or fake leather then you better use a zipper on the back)
So first step is to fold the fabric in 2 (good side on the inside), then draw the patterns to appropriate sizes on the fabric. (for instance if your waist is 80cm, you have to take into account 40 cm on front size +2 for seaming; same on the back size of skirt).
For the breastpart, I used an old bra to draw the pattern.
Don't put the old bra to far away cause you are going to be using that to fill up the breastpart :D.
After drawing the patterns with some chalk on the folded fabric, you cut out the patterns.
Breast parts I have 2 of each now, the tiny parts on the left of the picture I got 4 each.
The big parts for the skirt, normally I was going for 2 each but I decided I am just going to use a nice edge stitch so that it doesn't need 2 layers.
Same goes for the mail part pieces, draw and cut on folded fabric with goodside on the inside.
When you have cats in the house, you may expect situations like this. They seem to love fabric.
So ready to set up the sewingmachine, so first you have to wind up your underthread before setting it up with the same color as your main thread.
I start with the breast part, backside has 2 identical pieces.
Put them on top of eachother with the good parts on the inside.
Start stitching with a stretchstitch as close to the edge as possible. All sides except one of the small sides.
After all sides are done except one of the short ones you pull it inside out.
Frontside same way as the backside. Sew all edges except 5cm left and right from the cleavage.
You need those openings to put in your old bra part.
Before you put in the old bra you cut off the bandages of the bra, so that you only have the 2cups attached left.
Put one half on the left and the other on the right after you have pulled the sewn front inside out (making sure the good side is now on the outside)
Then use a decoration stitch on the compleet top seem of the bra-piece (it closes up the openings that were made to put in the bra and gives it a nice twist)
After you have finished the back and front, you put the outside sides on eachother and sew over it to make it a whole piece on both sides.
On this picture you can also see what decorative stitch I used for the top part of the brapiece.
So this is how the bra-piece looks like when done:
You take the 2 recangular silverpieces, put them with the goodside on eachother and sew the sides (NOT THE TOP AND BOTTOM)After that you put the outside part of the top on the outside part of the bra. Sew it with a stretchstitch all the way around.
When this is done you should have this (except I had to make the silver part a bit shorter), make sure it isnt to long)
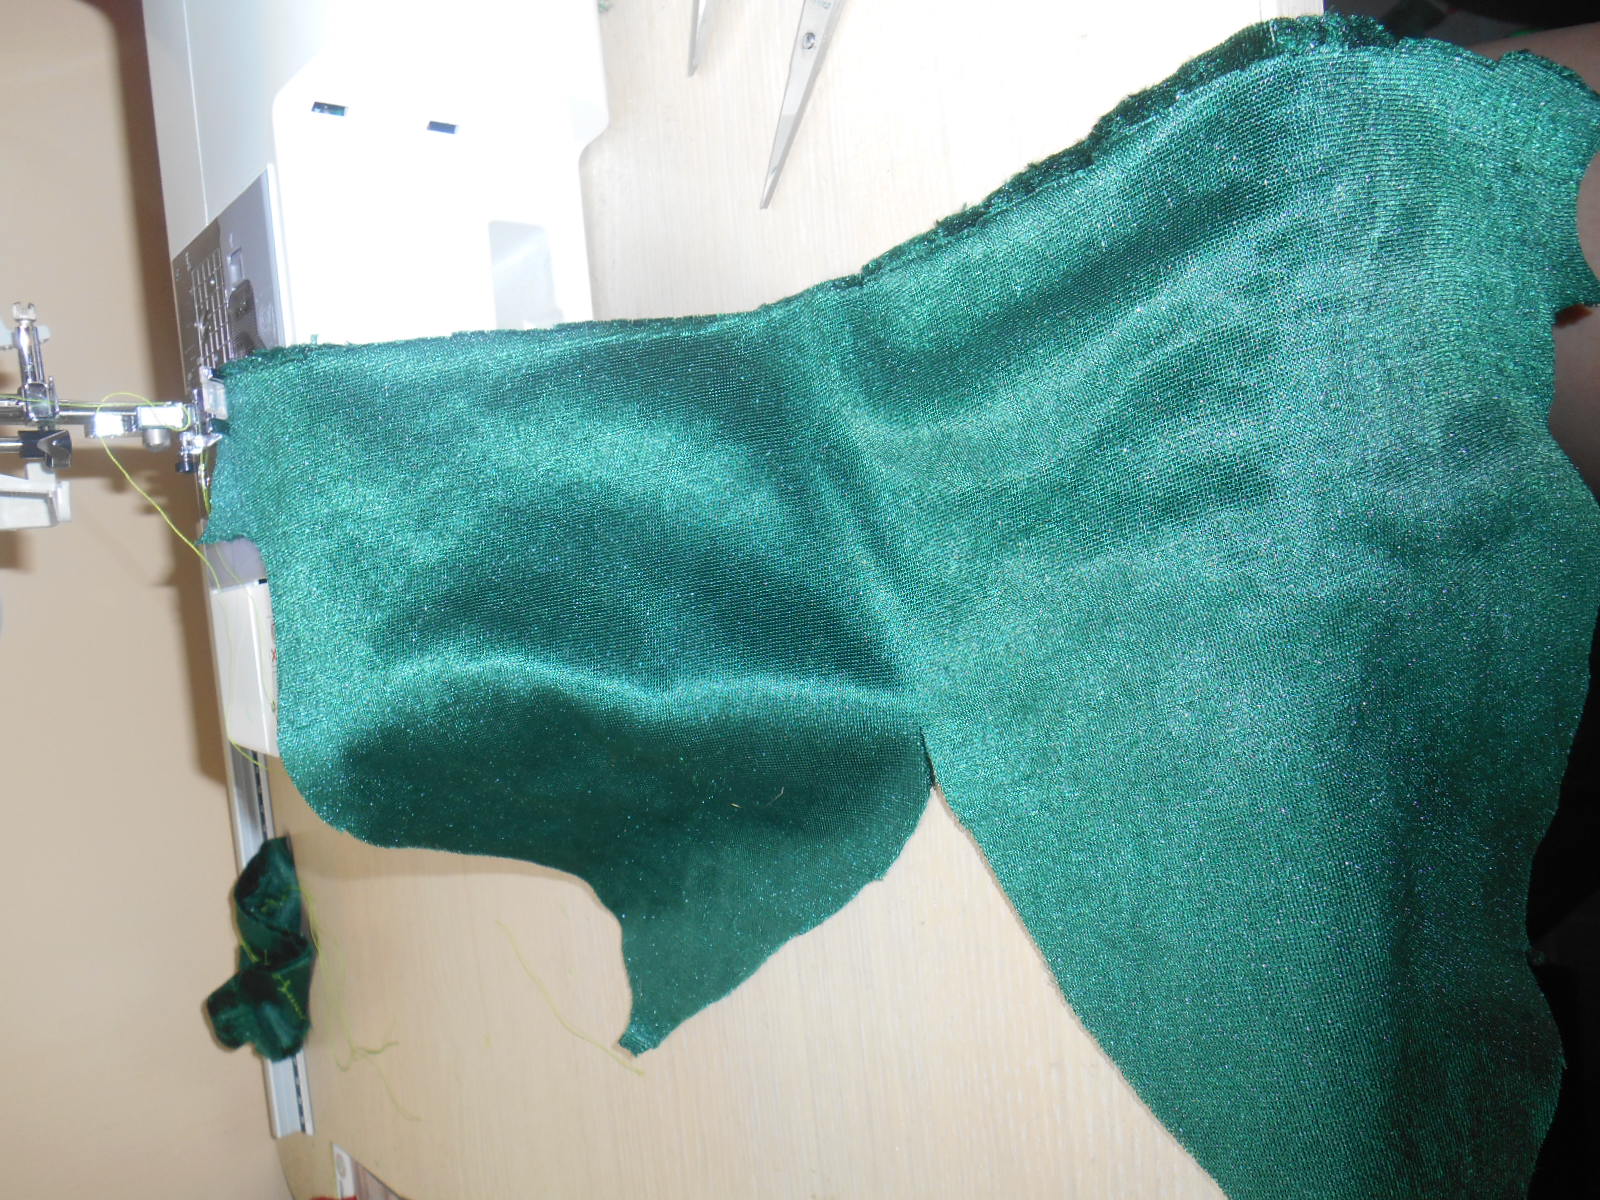
So as for the skirt part, start using a patchworkstitch on the sides and cut the fabric away that isn't needed
After making the edges neat, put the goodsides on top of eachother and stitch the sides together at the hip.
Then put the top and bottom together (goodsides on eachother!!)
So the base is done
Now starting with the hippads and shoulderpads.
Put the parts with the goodsides on top of eachother and sew them.
Leave a hole open big enough for turning it inside-out after you have sewn it.
HIPPADS PARTS SEWN AND TURN INSIDE-OUT so that the goodside apears on the outside :D
DO the same for the shoulderpads:
Finished parts for hips and shoulders:
Get your stuffing:
Remember the holes you left? Time to stuff your hip and shoulderpieces.
Close up the holes by hand and then put them together by hand.
Always the biggest part first for hip and shoulderpieces.
Here I already added one shoulderpad to the dress (BY HAND)
 Sleeves, goodsides on eachtother, start one side, then hem the bottom and top, then sew the other side. Turn it inside out and you are done.
Finished Chandra-based outfit: still have to attatch the hip-parts. First want to make sure I don't have to make it smaller for my friend.
Finished look: